
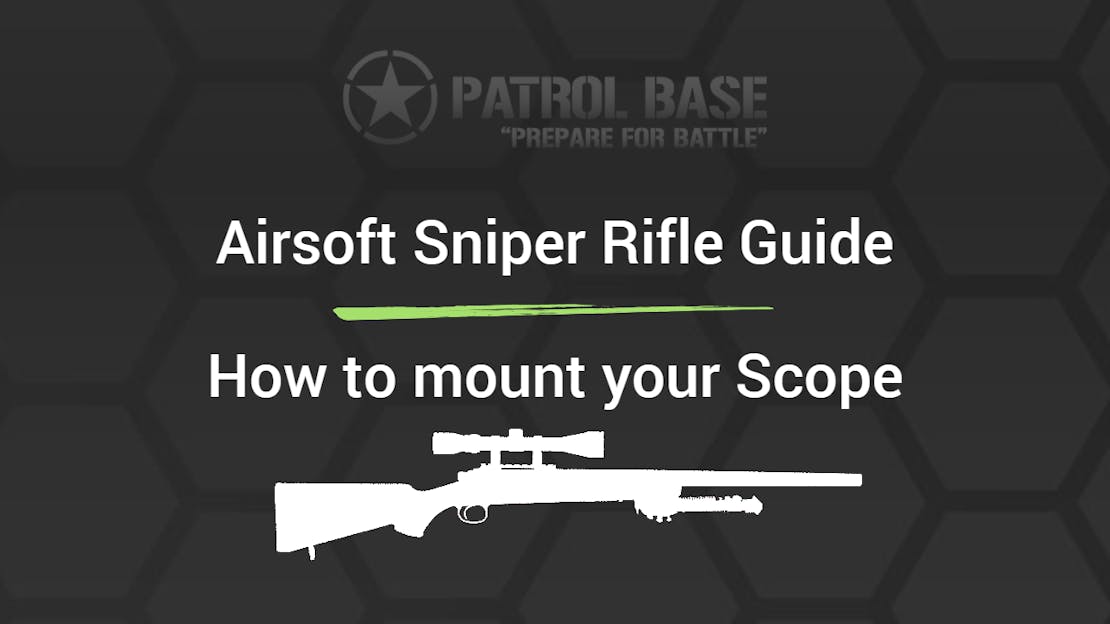
Airsoft Sniper Rifles: How to mount your Scope
Step 1 - Position your Scope Rings on your rail
The first step to shooting straight and true is to position your scope rings onto your 20mm Picatinny rail. Before you do so, remove the upper half of each of the scope rings and put them and the bolts aside for later. When positioning the lower part of the scope rings ensure they are spaced adequately for the turrets of the scope and tighten the rings down onto the rail, as shown below:

We recommend spacing the rings as widely as you can on your 20mm rail while still allowing your scope to fit. This will more effectively align the scope with the barrel and minimise the potential of a slightly off-spec rail making the scope harder to zero. With your scope rings positioned on the rail and tightened down, you can move on to the next step!
Step 2 - Place the scope onto the lower halves of the Scope Rings
Next up, you will need to position your scope onto the scope rings to double-check that the rings are adequately spaced to allow for the adjustment turrets to sit between them. When you are content that your rings are properly spaced, the next thing to check is what is known as "eye relief".

To check that the eye relief is correct for your head position when shooting you will need to place the scope onto the lower halves of the rings and take a look down it from your usual shooting position. You may find it more helpful to attach the upper part of the scope rings loosely to avoid accidentally dropping your scope.
The GIF below shows what your scope will look like if you have it mounted too far forward or your head position is too far from the scope's ocular lens (the lens you look through).

The black ring surrounding the crosshairs is very large here and the view down the scope is terrible. If you find yourself in this situation you will need to move the scope backwards or move your head position forward to get a better view of your target.

The example above shows what happens when your eye is too close to the scope, or when the scope is mounted too far rearwards. This will result in a large amount of your field of view being covered by a black ring and although you will see the full image through the scope you will lose a lot of visibility around your target and you may find your shooting position is uncomfortable. Below we can see as close as we can get to ideal eye relief while using a camera instead of the MK1 human eyeball:

As the camera moves left to right, you will notice that the scope image becomes impossible to view at the extremes of movement. The area in which the reticle and target can clearly be viewed is known as the "eye box", and this is where you should ideally position your head behind the scope.
It is always helpful to wear your usual face or eye protection when checking eye relief so you can always get a good view through your scope in game. Ideal eye relief should give you a good clear view down the scope and of the target, with the black ring around the image you are viewing through the scope being as small as possible. Moving the scope back and forth in the unsecured rings will allow you to tune this to perfection, but if you still cannot see clearly down we suggest repositioning your scope rings further rearwards on your rail to bring the scope closer to your eye.
Step 3 - Ensure the Reticle/Crosshair is horizontal and level

With your scope in place, the last thing to do before securing the scope rings is to ensure the reticle is straight, i.e. the horizontal line of the crosshair is as close to horizontal as possible.
The easiest way to do this is to rest your rifle on a horizontal surface and align the crosshair with another horizontal surface within the scope's field of view.
We used the slat wall on the "Tactical Gear Landing" in the Patrol Base Showroom to demonstrate this, but you could use a garden fence or wall for the same purpose, aligning the scopes horizontal stadia line with the line of the brickwork or fence slats, provided you are out of view of any nosey neighbours!
Step 4 - Position the upper halves of the scope rings
With your scope in the sweet spot, you can now position the upper halves of the scope rings and thread the bolts into place. Start with a single turn on each screw and then proceed on to the next step...
Step 5 - Tighten down the scope rings incrementally, one turn at a time
Everything is now where it should be, and the final step is to tighten the bolts which connect the upper halves of the scope rings to the lower half. The best way to ensure you do not overtighten or inconsistently tighten the bolts is to turn each one by a single turn and alternate between each bolt until they are all hand-tight.

It is very important that you don't overtighten the bolts as this can cause pressure on the monotube of your scope and can negatively affect accuracy and damage the scope's delicate internals. Equally important is the need to keep all of the screws tightened to about the same tightness so the scope sits straight and any pressure applied to the optic by the scope rings is evenly distributed.
When tightening the screws we recommend starting with one of the corner screws, then moving diagonally to the opposite corner screw and repeating this on the other scope ring to ensure the rings are tightened consistently. When tightening the screws it is also important not to overdo it, hand tight is absolutely sufficient for Airsoft purposes and avoids the potential for damaging the scope if you go full caveman.

Some skirmishers choose to use thread-locking adhesives such as Blue Loctite to secure their scope rings but this is not essential when dealing with Airsoft levels of recoil (basically none at all). It is up to you whether you use thread lock or not, but if you do make sure you have the correct substance available to dissolve it in case you decide you want to switch to a different optic or a different mount in the future.
Following Step 5 you should now be set up and ready to give the enemy team what for at long range. Hopefully, this guide has been informative and has helped you avoid the common mistakes many new Airsoft snipers make early in their Airsoft careers.
If you need some more intel on Airsoft sniper rifles before you take the plunge, check out our Buying Guide: Your First Sniper Rifle blog, and if you need help choosing a scope, you can browse our Optical Sights Buying Guide.
If you have your rifle sorted and are shopping for an optical sight you can check out our selection of telescopic sights by clicking the button below. Good hunting, Airsoft snipers!